Sewing your own quilt can seem like a daunting task, especially if it's your first time. But with the right guidance and a little patience, you can create a beautiful, handmade piece that you'll be proud of. This step-by-step guide will walk you through the process of sewing your very first quilt.
Choose your materials
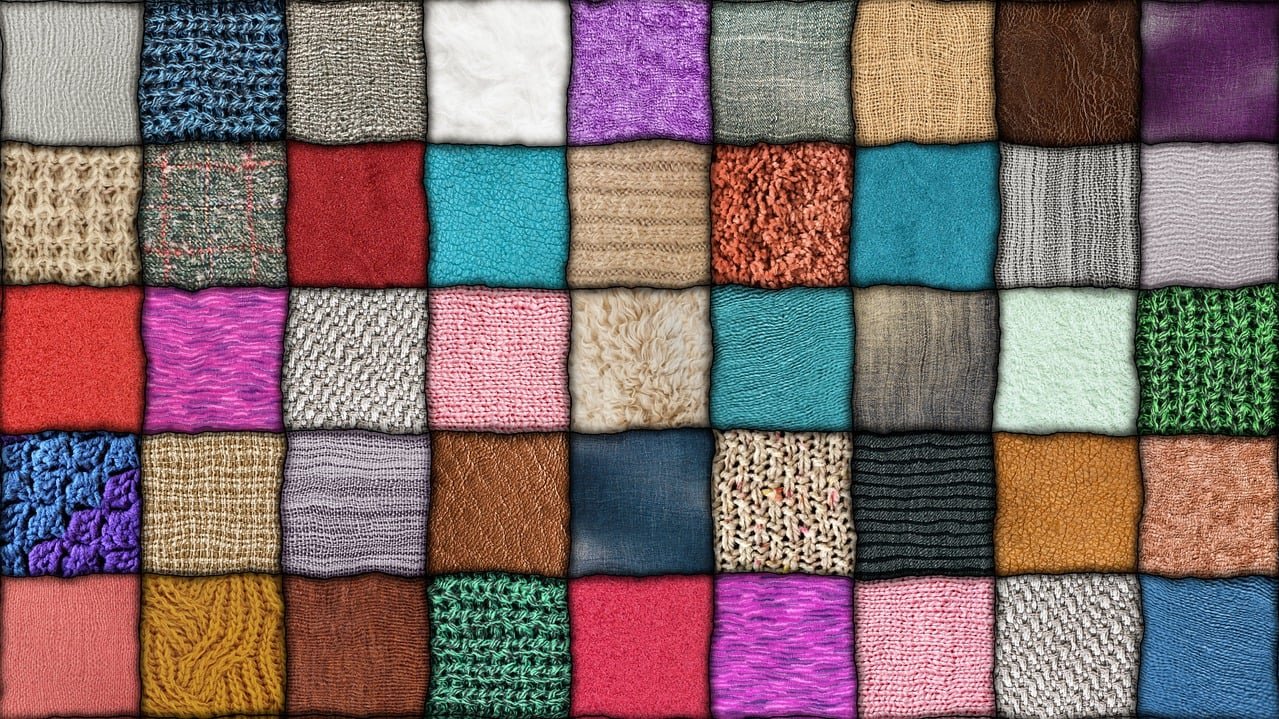
Before you can start sewing, you'll need to gather your materials. Here's a list of what you'll need:
- Quilting fabric: You'll need at least two different types of fabric. One for the top of your quilt (this is where your design will be) and one for the back.
- Batting: This is the soft, fluffy material that goes in the middle of your quilt. It gives your quilt its warmth and thickness.
- Thread: Choose a strong, durable thread. The color should match or complement your fabric.
- Rotary cutter and mat: These tools make cutting your fabric pieces quick and easy.
- Quilt ruler: This will help you measure and cut your fabric pieces accurately.
- Sewing machine: Any basic machine that can do a straight stitch and a zig-zag stitch will work.
Design your quilt
Now that you've got your materials, it's time to decide what your quilt will look like. You can find lots of free quilt patterns online, or you can design your own. When choosing your design, keep in mind that simpler designs are easier for beginners.
Cut your fabric
Once you have your design, you'll need to cut your fabric pieces. Be sure to measure twice and cut once to ensure accuracy. Use your rotary cutter, mat, and quilt ruler to make this process easier.
Sew your pieces together
Start sewing your pieces together according to your design. It's best to start from the middle and work your way out. This will help prevent any fabric from stretching or warping.
Assemble your quilt
Once all your pieces are sewn together, it's time to assemble your quilt. This is done in three layers: the top (your sewn pieces), the batting, and the back fabric. Sew all three layers together, leaving one side open.
Finish your quilt
The final step is to close up the open side of your quilt and add any finishing touches, like a decorative border or additional stitching. Congratulations, you've just sewn your first quilt!
Quilting can seem complicated at first, but once you get the hang of it, it becomes a fun and rewarding hobby. Don't be afraid to make mistakes and experiment with different designs and techniques.