So, you've decided to dive into the world of pottery – that's exciting! Pottery, one of the oldest human inventions, is not just a craft but a journey into history, creativity, and tranquility. This guide will help you embark on your pottery journey right in the comfort of your home.
The Basics of Pottery
Before we get our hands dirty, let's understand some pottery basics. Pottery is the process of forming vessels and other objects with clay and other ceramic materials, which are fired at high temperatures to give them a hard, durable form.
The primary techniques of pottery include 'hand building' (pinching, coiling, and slab building), 'throwing on a wheel' (commonly known as wheel throwing), and 'slipcasting'.
Essential Tools for Home Pottery
Your pottery journey requires the right tools. Here's a list of essential pottery tools you need to start with:
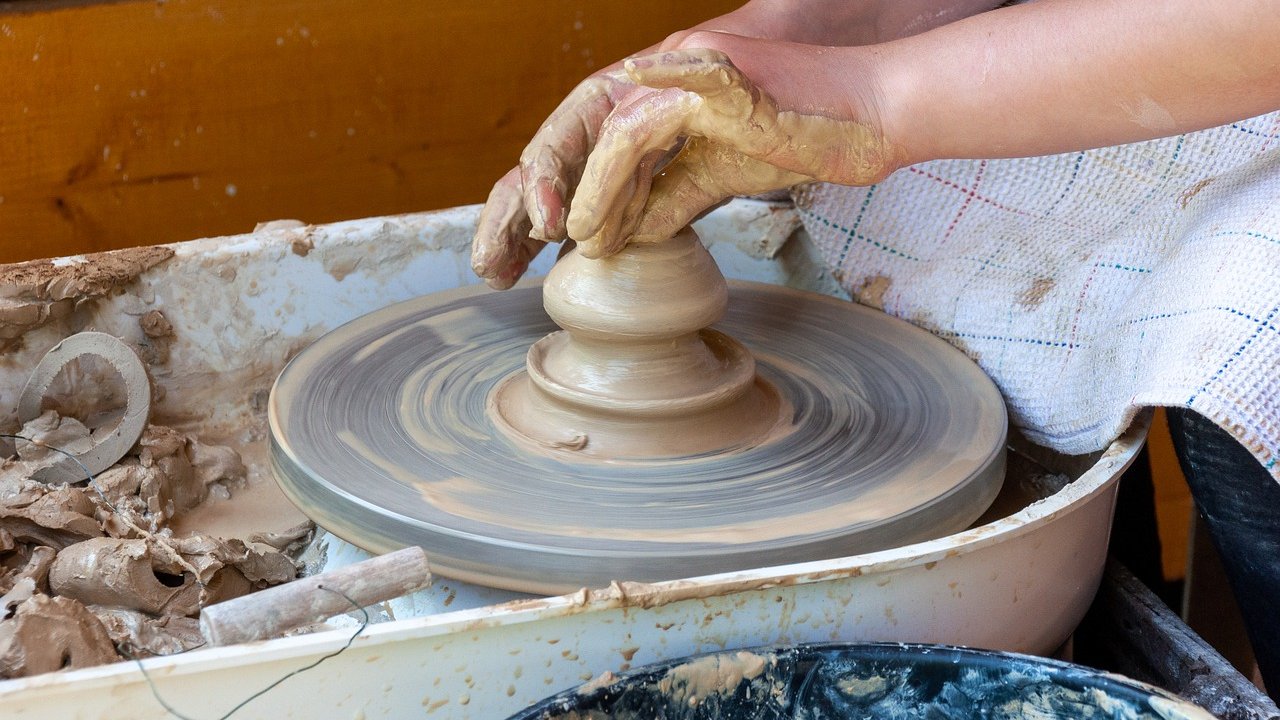
- Pottery Wheel: The key tool for 'throwing' pottery. Consider a tabletop wheel for home use.
- Clay: Start with a beginner-friendly clay like earthenware.
- Hand Tools: Wire clay cutters, wooden modeling tools, and sponges.
- Kiln: A small home kiln can be used for firing your creations. Alternatively, you can use a local ceramic shop's services.
- Glazes: These give your pottery pieces their color and finish.
Starting with Hand Building
Hand building is the simplest method of creating pottery and perfect for beginners. Here's a simple step by step tutorial for a basic project:
- Prepare your clay by kneading it to make it pliable and remove air bubbles.
- Pinch Method: Start with a ball of clay, push your thumb into the center, and pinch around to form a pot.
- Coil Method: Roll out long coils or 'snakes' of clay and layer them to form a structure. Blend the coils together.
- Slab Method: Roll out a flat slab of clay and cut out shapes to assemble a piece.
- Once your piece is dry, it's time for 'bisque firing'. This first firing makes the clay hard and ready for glazing.
- Apply your glaze. Make sure to wipe any glaze off the bottom of the piece, or it'll stick to the kiln.
- The final step is 'glaze firing' to melt the glaze and seal the clay.
Eager to try more? You can explore wheel throwing and slipcasting as you advance.
Final Thoughts
Starting pottery at home can be a rewarding journey. With patience and practice, you'll soon be creating your own ceramic creations.